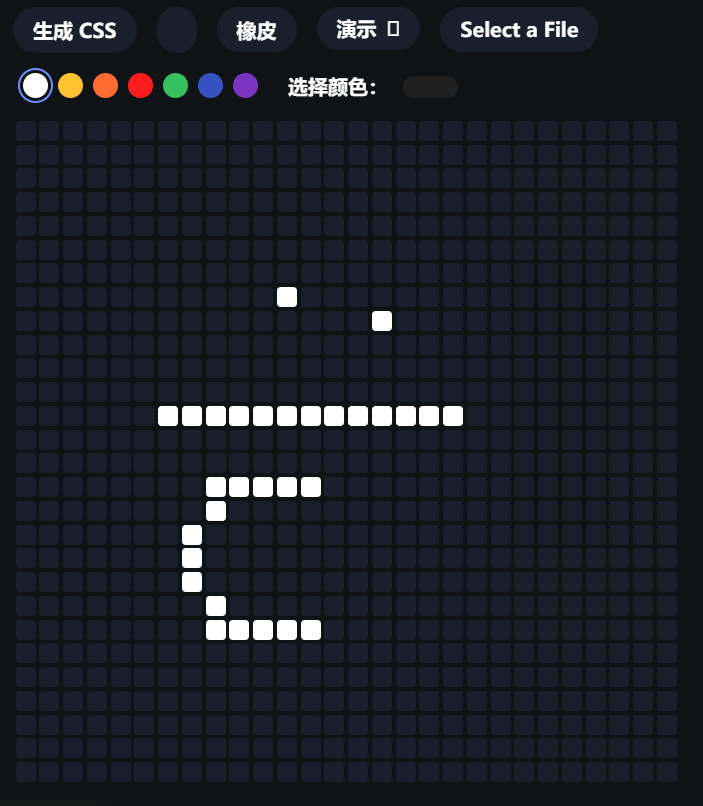
欢迎使用 CSS 像素艺术生成器– 用 Javascript 编写,并受到本文的启发。在下方绘制您的像素作品,然后单击“生成 CSS”以在 CSS 中获取您的像素艺术,您可以将其复制到您的网页中。
您可以通过单击“选择文件”来上传文件。像素网格为 40×40,因此请确保您的文件为 40×40 像素或更小。
这个怎么运作#
如文章中所述,我们使用放大的盒子阴影作为屏幕上的像素。我们可以放大或缩小这些像素,以使我们的像素艺术更大或更小。
由于每个盒子阴影是 1px x 1px,我们可以创建一个像素艺术,其中每个“像素”都是 1×1。如果我们希望每个像素为 20×20,我们只需将transform其缩放 20x:
transform: scale(20);
为了达到我们想要的效果,我们然后使用 Javascript 创建一个 UI,让我们绘制像素艺术作品。UI 的代码可以在 codepen 上找到。,或者如果你喜欢,可以在下面找到它:
Javascript 概述#
为了让这一切正常工作,我们必须使用 Javascript。第一步是使用简单的循环生成像素网格:
let config = {
    width: 40,
    height: 40,
    color: 'white',
    drawing: true,
    eraser: false
}

let events = {
    mousedown: false
}

document.getElementById('pixel-art-area').style.width = `calc(${(0.825 * config.width)}rem + ${(config.height * 2)}px)`;
document.getElementById('pixel-art-area').style.height = `calc(${(0.825 * config.height)}rem + ${(config.width * 2)}px)`;

for(let i = 0; i < config.width; ++i) {
    for(let j = 0; j < config.height; ++j) {
        let createEl = document.createElement('div');
        createEl.classList.add('pixel');
        createEl.setAttribute('data-x-coordinate', j);
        createEl.setAttribute('data-y-coordinate', i);
        document.getElementById('pixel-art-area').appendChild(createEl);
    }
}
这最终会创建大约 40×40 像素,或 1600 个新的 HTML 元素。您可以轻松地将其放大以进行更大的实验,但 40×40 可以正常工作。
跟踪用户鼠标移动#
然后,我们可以使用三个事件跟踪用户的鼠标移动:pointerdown、pointermove和pointerup。由于我们必须将此应用于所有像素,因此我们使用循环遍历每个像素以添加事件。
然后,如果用户继续按住,我们可以使用e.target跟踪他们在哪个像素上方,这将返回当前悬停在pointermove上的 HTML 实体。如果他们使用橡皮擦,我们可以在这里考虑到这一点。
document.querySelectorAll('.pixel').forEach(function(item) {
    item.addEventListener('pointerdown', function(e) {
        if(config.eraser === true) {
            item.setAttribute('data-color', null);
            item.style.background = `#191f2b`;
        } else {
            item.setAttribute('data-color', config.color);
            item.style.background = `${config.color}`;
        }
        events.mousedown = true;
    });
});

document.getElementById('pixel-art-area').addEventListener('pointermove', function(e) {
    if(config.drawing === true && events.mousedown === true || config.eraser === true && events.mousedown === true) {
        if(e.target.matches('.pixel')) {
            if(config.eraser === true) {
                e.target.setAttribute('data-color', null);
                e.target.style.background = `#101532`;
            } else {
                e.target.setAttribute('data-color', config.color);
                e.target.style.background = `${config.color}`;
            }
        }
    }
});

document.body.addEventListener('pointerup', function(e) {
    events.mousedown = false;
});
文件上传#
当您将图像上传到工具时,我们会调用附加到文件上传输入的事件并将图像内容放在画布上。我们绘制图像的画布是隐藏的,所以你看不到它——但现在我们可以用 Javascript 来处理它。
将其添加到该画布后,我们可以使用getImageData(). 我们遍历每个像素(40×40,因为我们的像素艺术生成器是 40×40),并对每个点的颜色进行采样。如果超过 40×40 像素,它们就会被忽略 – 因此请确保您的文件大小小于 40×40。
在下面的代码中,像素数据以 R、G、B、A 格式返回。我们将其存储在pixelData变量中。pixelData[3]是“A”,pixelData[0]to[2]是 R、G 和 B。利用这些信息,我们可以计算出每个像素的 RGB 颜色,并忽略 A = 0 的透明像素。
    // Attach the event to our input
    document.querySelector('.select-file').addEventListener('change', function(e) {
        let files = e.target.files;
        // Get the files from the input that have been uploaded
        let f = files[0];
        let reader = new FileReader();
        // Hide any errors
        document.querySelector('.error').classList.remove('active');

        reader.onload = (async function(file) {
            // We only accept images.. so check the image type
            if(file.type == "image/png" || file.type == "image/jpg" || file.type == "image/gif" || file.type == "image/jpeg") {
                // create an image from our file
                const bitmap = await createImageBitmap(file);
                const canvas = document.querySelector("canvas");
                canvas.width = bitmap.width;
                canvas.height = bitmap.height;
                const ctx = canvas.getContext("2d");
                // Clear any previous image.. just in case
                ctx.clearRect(0, 0, 9999, 9999);
                // And paint the new element onto the canvas
                ctx.drawImage(bitmap, 0, 0, canvas.width, canvas.height);
                let constructPixelData = []

                // Then run through each of our pixels and get the color at each point
                for(let i = 0; i < config.width; ++i) {
                    for(let j = 0; j < config.height; ++j) {
                        let pixelData = canvas.getContext('2d').getImageData(i, j, 1, 1).data;
                        // pixel data is returned in in R, G, B, A format. pixelData[3] is "A", and pixelData[0] to [2] are R, G, and B.
                        // If pixelData[3] is 0, then opacity at that pixel is 0. So we won't show it.
                        if(pixelData[3] !== 0) {
                            // Put it into an array containing x, y, and color
                            constructPixelData.push({ x: i, y: j, color: `rgb(${pixelData[0]} ${pixelData[1]} ${pixelData[2]})`});
                        }
                    }
                }
                // And then update the pixel art generator to display this information.
                constructPixelData.forEach(function(i) {
                    let getPixel = document.querySelector(`.pixel[data-x-coordinate="${i.x}"][data-y-coordinate="${i.y}"]`);
                    if(getPixel !== null) {
                        getPixel.setAttribute('data-color', i.color);
                        getPixel.style.background = i.color;
                    }
                });
            }
            else {
                document.querySelector('.error').textContent = 'Please select a png, jpg or gif file to upload.';
                document.querySelector('.error').classList.add('active');
            }

        })(f);
    });
最后,我们在颜色和橡皮擦上设置了一些事件,这样我们就可以跟踪选择了哪个工具和颜色:
[ 'click', 'input' ].forEach(function(item) {
    document.querySelector('.color-picker').addEventListener(item, function() {
        config.color = this.value;
        document.querySelectorAll('.colors > div').forEach(function(i) {
            i.classList.remove('current');
        });
        this.classList.add('current');
        config.eraser = false;
        document.querySelector('.eraser-container').classList.remove('current');
    });
});

document.querySelectorAll('.colors > div').forEach(function(item) {
    item.addEventListener('click', function(e) {
        document.querySelector('.color-picker').classList.remove('current');
        document.querySelectorAll('.colors > div').forEach(function(i) {
            i.classList.remove('current');
        })
        item.classList.add('current');
        config.eraser = false;
        config.color = `${item.getAttribute('data-color')}`;
        document.querySelector('.eraser-container').classList.remove('current');
    })
});
结论#
当我看到原始文章时,我认为仅使用 CSS 创建像素艺术真的很酷——但创建一种导出像素艺术作品的方式会更酷——而且只需一点点Javascript。以下是一些有用的源代码链接:


")
